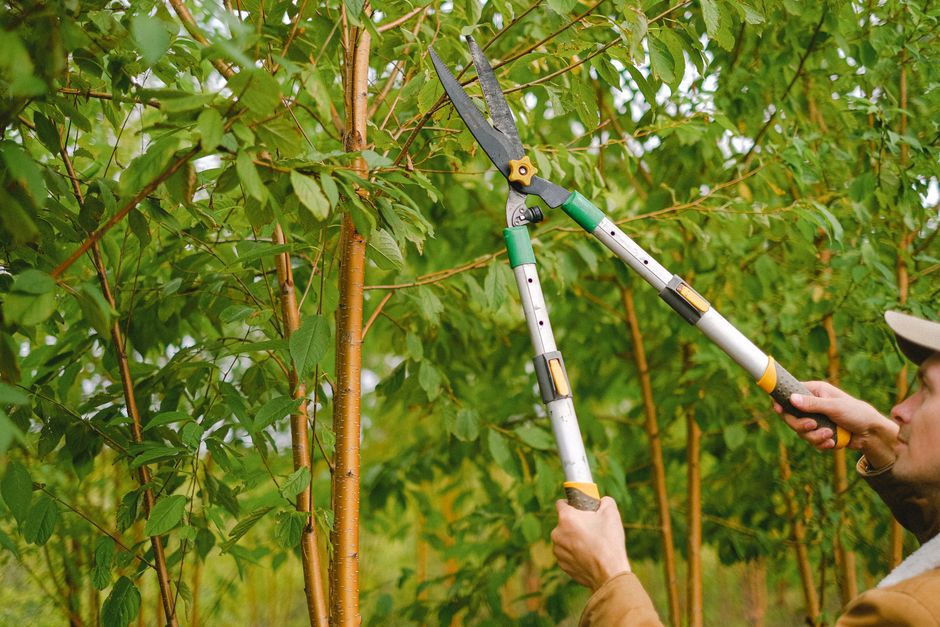
Prune hazelnut trees in late winter — December through February is the sweet spot in the Fraser Valley. That's the short answer. The longer answer involves suckers, the open-centre method, and a joke about nuts that I'm going to resist making. (Barely.)
Hazelnut trees — Corylus avellana, the European hazelnut — are widely grown across the Fraser Valley. Langley, Agassiz, and Abbotsford sit in one of Canada's main commercial hazelnut growing regions. The trees respond very well to annual dormant-season pruning. Leave them alone for a few years and you'll find yourself with a thicket, not a tree.
Here's what to actually do.
When to prune hazelnut trees
Late winter is the right window — late December through the end of February in most of the Fraser Valley. The tree is fully dormant. There's no foliage to block your view of the structure. Cuts made now will close over before the tree breaks dormancy in early spring.
Avoid pruning in fall. Fresh cuts in October and November heal slowly, and fungal pressure is higher heading into winter. Avoid heavy pruning in summer, when you'll strip away carbohydrates the tree needs to carry itself through to dormancy.
One exception: dead, diseased, or broken branches can come off any time of year. No need to wait until winter for those. For the broader picture on seasonal timing across different species, see our guide to pruning trees in winter.
Catkins — the long yellow-green pollen tassels — appear in late winter. Pruning before catkins open is fine. Pruning after catkins drop is fine. Just aim to finish before leaf break, when the tree is putting energy into new growth.
How to train a young hazelnut tree
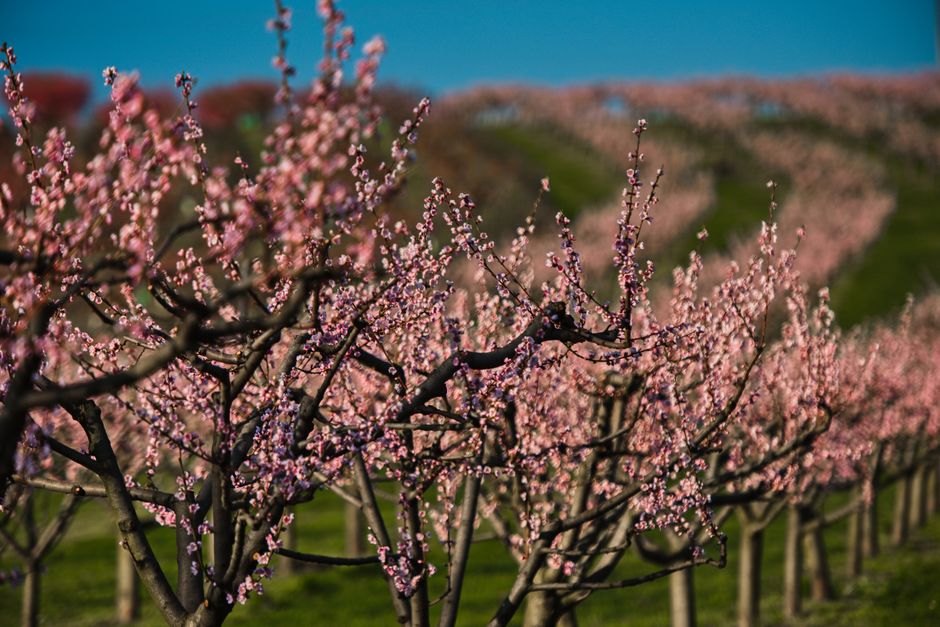
The first five years set the shape of the tree for the next thirty. Hazelnut trees can be grown as a multi-stemmed shrub or trained as a single-trunk standard. For most home situations, the open-centre method works best: three to five main scaffold branches evenly spaced around a central area, with competing leaders removed.
Year one:Select three to five strong scaffold branches at different heights and angles. Remove everything else, including competing leaders. This is harder than it sounds — the temptation to keep "just one more" branch is real, and it's exactly how open-centre training goes sideways.
Year two: Prune scaffold branches back by about one-third. This encourages outward spread rather than vertical competition.
Year three onward: Maintain an open canopy. Remove crossing branches, anything growing inward, and any stems that shade the centre.
An open-centre hazelnut lets light reach the interior. Interior light is what drives nut production. That's the whole game.
Pruning mature hazelnuts for nut production
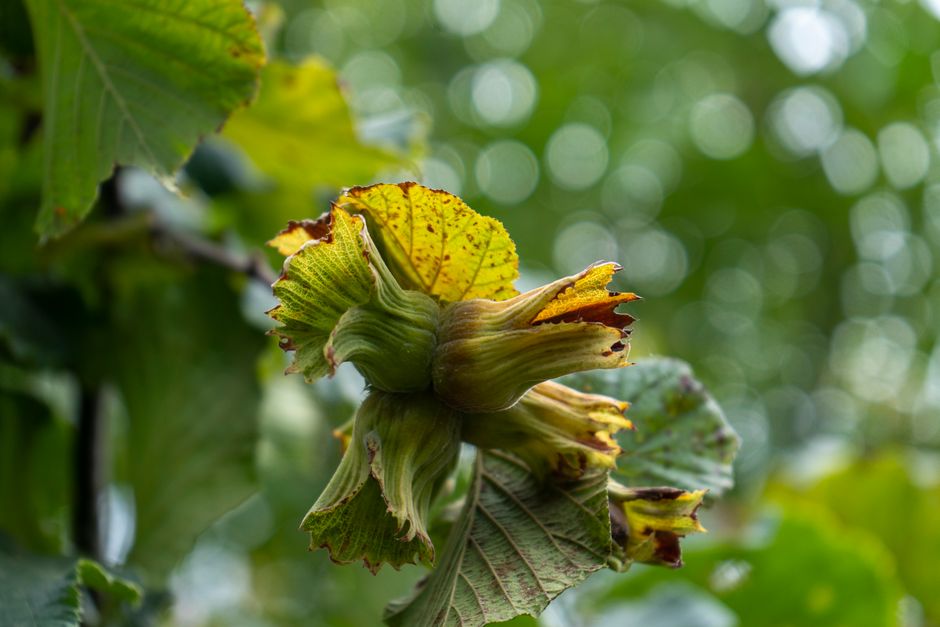
Hazelnuts produce on one- and two-year-old wood. A tree that hasn't been pruned will eventually develop a lot of old, unproductive wood. You'll get leaves, and not much else.
Rule of thumb: remove about 20–25% of the canopy volume each year, focusing on the oldest wood. Take out stems that are four or more years old. Replace them with vigorous one- and two-year shoots growing in useful directions.
Nine out of ten hazelnut trees in the Fraser Valley that aren't producing well have a maintenance backlog. Annual light pruning is easier on the tree — and easier on you — than a heavy renovation every five years.
If the tree is showing signs of decline, reduced vigour, or dieback that isn't obviously storm damage, a tree health assessment before you start pruning is worth the cost. Pruning a structurally compromised tree without understanding what's causing the problem can accelerate the damage.
What to cut first: the 3Ds and suckers
Before you make a single structural cut, remove the 3Ds: dead, diseased, and damaged wood. This always comes first. It doesn't count against your 25–30% limit — it's maintenance, not shaping.
Dead wood is easy to identify in winter: no buds, brittle, often discoloured or hollowed. Diseased wood may show cankers, dieback patches, or — if you're looking at Eastern Filbert Blight — irregular black masses on the bark. (More on EFB in the FAQ section below.)
After the 3Ds, deal with suckers. Hazelnut trees sucker aggressively — shoots springing up from the base or root zone are a constant. Left alone, they steal energy from the main canopy and reduce nut production. Remove them flush with the root or trunk. Don't leave stubs; that just invites more from the same spot.
Then move to structural cuts in this order: crossing branches, inward-growing stems, water sprouts, and competing leaders. Oldest unproductive wood last.
The Oregon State University Extension hazelnut guide is one of the most detailed resources available on canopy management for home and commercial orchards in the Pacific Northwest — worth bookmarking if you're managing more than a couple of trees.
Tools for the job
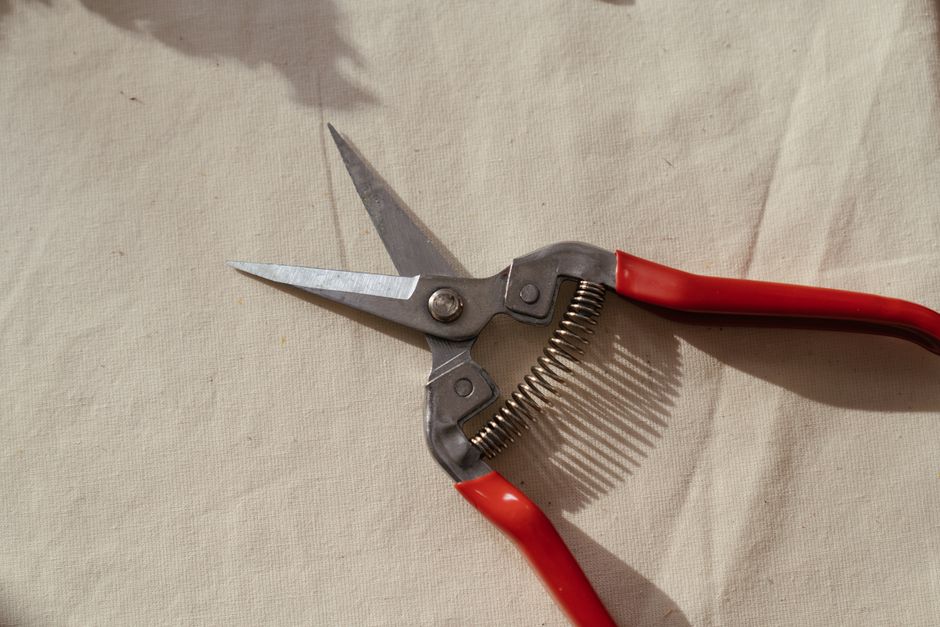
Most hazelnut pruning is hand-pruner work. The stems are manageable, the structure is accessible, and you don't need heavy equipment for a well-maintained tree.
- Bypass pruning shears — for stems under 1 cm. Not anvil-style; bypass makes a cleaner cut that heals faster.
- Loppers — for stems from 1–4 cm. Saves your hands on the bigger suckers and older wood.
- Pruning saw — for stems over 4 cm. A folding Silky-style saw works well and stores safely.
Clean, sharp tools matter. Ragged cuts are slower to heal and more vulnerable to disease entry. If you're working around suspected Eastern Filbert Blight, wipe blades with a diluted bleach solution (1:9 bleach to water) between trees — and between cuts on the same tree if you move from visibly infected to healthy wood.
Skip the wound sealant. Research is consistent: wound paints don't help healing and can trap moisture in cuts. The tree's own compartmentalization response is what seals pruning wounds. Leave cuts open and let the tree handle it.
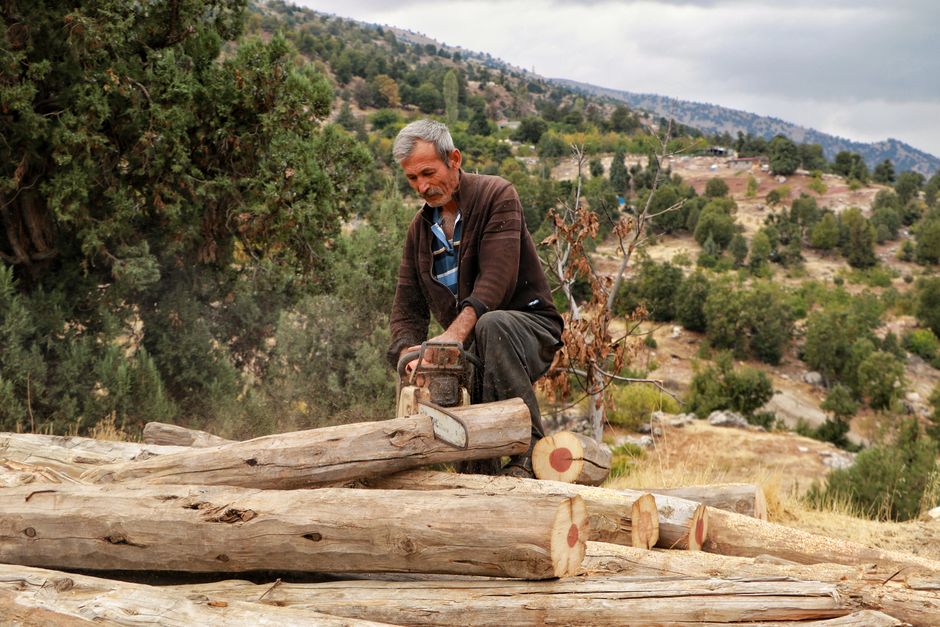
When not to do it yourself
A hazelnut with a reasonable pruning history and a manageable canopy is a solid DIY job. Most homeowners with a pair of loppers and an afternoon can handle it. Here 's when to call a professional instead:
You suspect Eastern Filbert Blight.EFB management isn't just pruning infected wood — it's a protocol. Sanitised tools, bagged cuttings (not composted), careful timing. If you're unsure what you're looking at, get a professional read before you start cutting. An ISA Certified Arborist can confirm the diagnosis and advise on management before you inadvertently spread the disease.
The tree is a multi-year renovation job.If the canopy hasn't been touched in many years, aggressive renovation needs careful sequencing. Cut too much at once and you get a stressed tree throwing up a forest of water sprouts. Spread it out properly over two to three seasons and the tree responds well. An arborist can plan the sequence so you get the result without the setback.
The work is overhead with a saw.Hazelnut rarely reaches dangerous heights, but older specimens can. Working with a handsaw above your shoulders is where most DIY tree injuries happen. Don't be the cautionary example we end up telling future clients about.
We're genuinely happy to talk you through what your tree needs. Give us a call and we'll tell you honestly whether it's a DIY situation or one that 's worth having us out. If it's clearly something you can handle yourself, we'll say so — no charge to ask.