
A hedge trimmer is not complicated. It's also not as terrifying as it looks — though it is exactly as loud as it sounds, so fair warning to your neighbours at 8am on a Saturday.
Here's the short version: hold the trimmer at a slight outward angle, work from the bottom of each side upward in sweeping strokes, trim the top last, and stop before you hit brown wood. That covers about 80% of good hedge trimming in one sentence.
The remaining 20% is what causes most of the problems — and with cedar hedges in particular, getting that part wrong is expensive to fix.
Quick answer: Set a string line at the finished height before you start. Trim sides first with upward sweeping strokes, maintaining a slight A-frame taper (wider at base, narrower at top). Trim the top last. Never cut past the green foliage into brown wood on cedar — it will not regrow. Clean and oil the blades after every use.

Choosing the right hedge trimmer
For most Surrey homeowners, a battery-powered hedge trimmer is the right call. They're quieter than petrol, lighter to handle overhead, and there's no cord to trip over when you're walking the length of a ten-foot cedar hedge. The main limitation is run time — a large hedge might need two battery charges.
For bigger hedges or daily commercial use, petrol trimmers have the power and endurance. They're heavier and louder, but they don't quit on you mid-hedge.
Blade length matters more than most people think. A 45–55 cm blade is the right range for most yard hedges. Shorter blades are easier to manoeuvre around corners and tight spaces. Longer blades cover more ground on long flat runs but are harder to control at height.
One thing worth knowing: a cheap trimmer with dull blades doesn't cut — it compresses. Compressed cuts bruise the stems, create ragged wounds that invite disease, and leave the hedge looking torn rather than trimmed. If you're renting, ask when the blades were last sharpened. If you're buying, avoid the bottom of the price range.
Safety gear before you start
This section is short because the list is short. Don't skip any of it.
Eye protection. A hedge trimmer throws debris — bits of stem, leaf matter, the occasional stone. Safety glasses cost four dollars. An eye injury costs considerably more.
Hearing protection. This is the one people skip most often. A petrol trimmer runs at 95–100 decibels. That's at the threshold of hearing damage for extended use. Battery trimmers are quieter, but foam earplugs are still worth wearing on anything over 20 minutes.
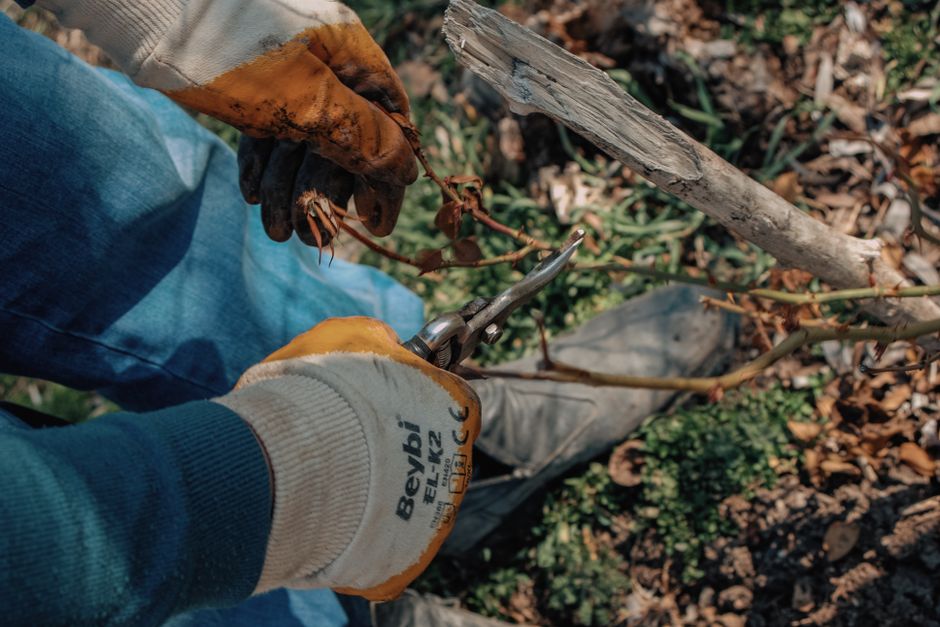
Gloves. Cut-resistant gardening gloves, not the thin latex kind. Your hands are near a moving blade for the entire job.
Non-slip footwear. Surrey's wet climate means damp grass most of the year. Solid footwear matters even on flat ground — and significantly more on any slope.
Before you turn anything on: check the hedge for anything that doesn't belong. Bird nests are the obvious one between March and August. But also look for wire mesh embedded in old hedges (surprisingly common in older Surrey properties), irrigation lines, and wood fence posts that have been overgrown. Hitting any of those with a trimmer blade damages both the tool and the blade.
How to use a hedge trimmer: step by step
Step 1: Set your reference lines. Drive two canes into the ground at each end of the hedge at the height you want to finish at. Run a string line between them. This is not optional for any hedge longer than two metres — without a reference, you'll wander. Step back from the end of the hedge and look at the angle of the string before you start cutting.
Step 2: Trim the sides first. Hold the trimmer with the blade roughly parallel to the hedge face, tilted slightly outward at the top (the A-frame angle). Work upward in horizontal sweeping strokes — don't saw. Move along the hedge from one end to the other in a single pass per height level before moving up.
The A-frame taper (wider at the base, narrower at the top) is not just aesthetic. It lets light reach the lower portions of the hedge. A hedge that's wider at the top than the base will progressively thin out at the bottom as the upper growth shades it — and that process is hard to reverse once it starts.
Step 3: Check your work from a distance. Walk to the end of the hedge and look down the length before you trim the top. Most irregularities are invisible from alongside the hedge and obvious from the end.
Step 4: Trim the top. With the sides done, set the top using the same string line at your finished height. Hold the trimmer horizontally and sweep along the top in slow, even strokes. For tall hedges where you need a ladder, only extend as far as you can comfortably reach without leaning — reposition the ladder rather than stretch.
Step 5: Clean up and maintain the blades. Wipe the blades clean of sap and debris after every use. A drop of machine oil on the blades before storing prevents rust. Hedge trimmer blades dull faster than most people expect — if the trimmer starts tearing rather than cutting, that's the blade, not the technique.
Internal links: for more on blade sharpening and cleaning technique, see our guide to keeping hedge trimmer blades sharp and clean.

Cedar, laurel, and boxwood: Surrey species guide
Most generic hedge trimmer guides don't tell you this part, because they're written for general audiences. Surrey's climate and the species commonly planted here create some specific situations worth knowing.
Western red cedar is the most common hedge in Surrey and the one with the most unforgiving rule. Never cut past the green foliage into the brown interior wood. Cedar does not regenerate from brown wood — full stop. A cedar hedge that's been cut too hard into the interior will have a permanent dead zone. The fix is expensive and sometimes impossible.
Regular light trims keep cedar manageable. One heavy annual trim instead of three lighter ones is how most cedar hedges end up with interior dead patches. I reckon nine out of ten renovations we get called in for on cedar were preventable with the right trimming frequency.
Common cherry laurel (English laurel) is worth a brief mention because it's one of BC's listed invasive species. If you're replacing a hedge, consider a native alternative — western red cedar or Garry oak hedgerow species. If you have an existing laurel hedge you're maintaining, trim it with hand shears rather than a power trimmer. Power trimmers slash through the large leaves and create a ragged brown edge. It looks cut, not trimmed.
Boxwood is susceptible to boxwood blight, which is present in BC. The trimmer blades carry the disease from one plant to another. If you're trimming a boxwood hedge, sterilise the blades with rubbing alcohol between sections — especially if any plants are showing discolouration.
Photinia (Red Robin) responds well to regular trimming and actively benefits from it — each cut triggers a flush of the red new growth that makes it attractive. Trim in spring after the initial growth, and again in summer for a second flush. One of the more rewarding hedges to work with.
How often to trim hedges in Surrey
The rule of thumb for most Surrey hedges: two to three times per year. Surrey's wet, mild climate means faster growth than many regions — a hedge that's trimmed twice a year in the Okanagan might need three passes here.
For most species: once in late spring after the main growth flush, once in mid-summer, and an optional light tidy in September before growth slows. Avoid trimming in late fall — you'll stimulate new growth that the winter frosts will kill off.
For cedar specifically: three times a year in Surrey is not excessive. The goal with cedar is to take small amounts regularly, not large amounts infrequently. The more you let it grow between trims, the more you're forced to cut, and the more likely you are to expose brown interior wood.
Timing around nesting season (March 1 through August 31) doesn't mean skipping summer trims entirely. It means checking the hedge for active nests before trimming. Most hedges don't have active nests — but it takes 30 seconds to check, and the Migratory Birds Convention Act covers active nests. It's the kind of thing worth knowing before you find out the hard way.

When to put the trimmer down
Most hedge trimming is a reasonable DIY job. Here are the cases where it isn't — and where calling a certified arborist actually saves you money.
The hedge is over eight feet. Ladder plus hedge trimmer is a combination where the risk escalates quickly. Above eight feet, you're reaching overhead with a running blade while standing on a ladder. That's not a scare-tactic statistic — it's genuinely where most garden tool injuries happen. For tall cedar or arborvitae hedges, professional equipment makes the job safer and the result better.
The hedge is near utility lines. Call BC Hydro first, us second. Lines near vegetation are BC Hydro's responsibility to assess. Don't trim a hedge that's grown into lines — the branches are in contact with the line, and pruning changes the load and tension in unpredictable ways.
The cedar hedge has significant dead sections. If the brown area is large, a trim won't fix it. What you need is a renovation assessment — which parts of the hedge are recoverable and which aren't, and what the realistic options are. Sometimes a hard renovation prune saves the hedge. Sometimes it doesn't, and the honest answer is replacement. We'd rather tell you that upfront than have you find out after a $400 trim.
The hedge is showing signs of disease. Dieback, unusual discolouration, or a section that looks wrong even after trimming needs a diagnosis, not a haircut. Trimming a diseased hedge spreads the problem through the blades. Our tree and hedge health assessments start at $150 and are credited toward any work we do.
The hedge is growing into a neighbour's property. This gets complicated. BC doesn't have uniform hedge height rules — it varies by municipality. Surrey has its own bylaws. Before you trim back hard on a shared or boundary hedge, it's worth knowing what you're actually permitted to do.
I'll be honest: if your hedge is under six feet, healthy, and accessible from flat ground, you can almost certainly handle it yourself with the right technique and a decent trimmer. The cases above are where the math changes.