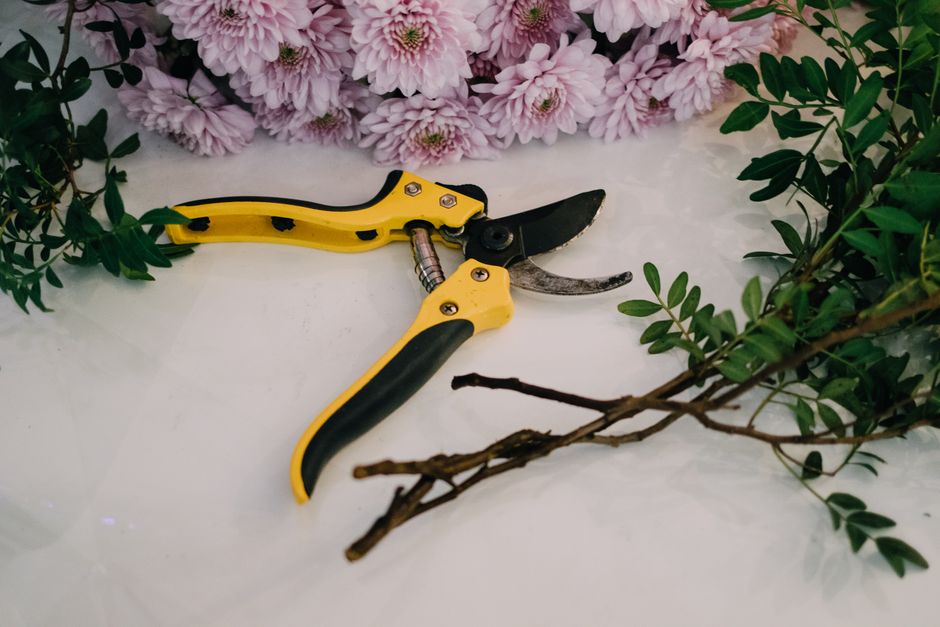
Dull pruning shears don't prune. They crush, tear, and generally make plants very unhappy. (They make the person holding them unhappy too, but that's a separate issue.)
The fix is simple: a diamond file, fifteen minutes, and a bit of patience. Run the file along the beveled edge at the original angle — about 20 to 25 degrees for most bypass pruners. Three to six strokes is usually enough for a blade that's been maintained. For one that's been sitting in a shed since 2019, plan for more.
Quick answer: Match your file to the existing bevel angle. Sharpen only the beveled side. Remove the burr with one light pass on the flat back. Oil everything. Done. Read on if you want to do it properly and make it last.
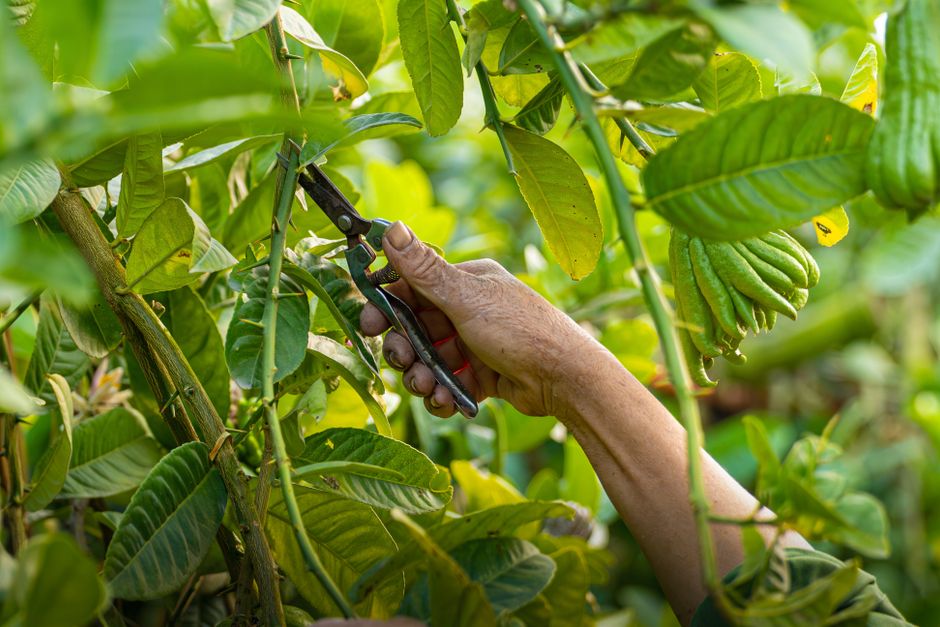
Why sharp pruning shears actually matter for your trees
A clean cut closes. A torn cut doesn't — at least not quickly.
When you cut with a dull blade, you're compressing and ripping the wood fibres rather than slicing through them. The wound that's left is ragged and wider than it needs to be. Trees deal with pruning wounds through compartmentalization — a process where they wall off damaged tissue and grow over the cut. That process is slower and harder with a torn edge than a clean one.
In BC's climate, this matters more than people think. We get warm, wet springs that are perfect conditions for fungal pathogens to enter through fresh wounds. The Canadian Food Inspection Agency notes that fire blight and other bacterial diseases move through cutting tools — meaning your shears are a disease vector if they're not clean and sharp. Ragged cuts give pathogens a longer window to get in.
Sharp shears also protect you. Forcing a dull blade takes more effort per cut, which wears you out faster and increases the chance of the tool slipping at the wrong moment. It's a simple calculation: fifteen minutes sharpening now saves you a lot of frustration — and potentially a trip to the hospital — later.
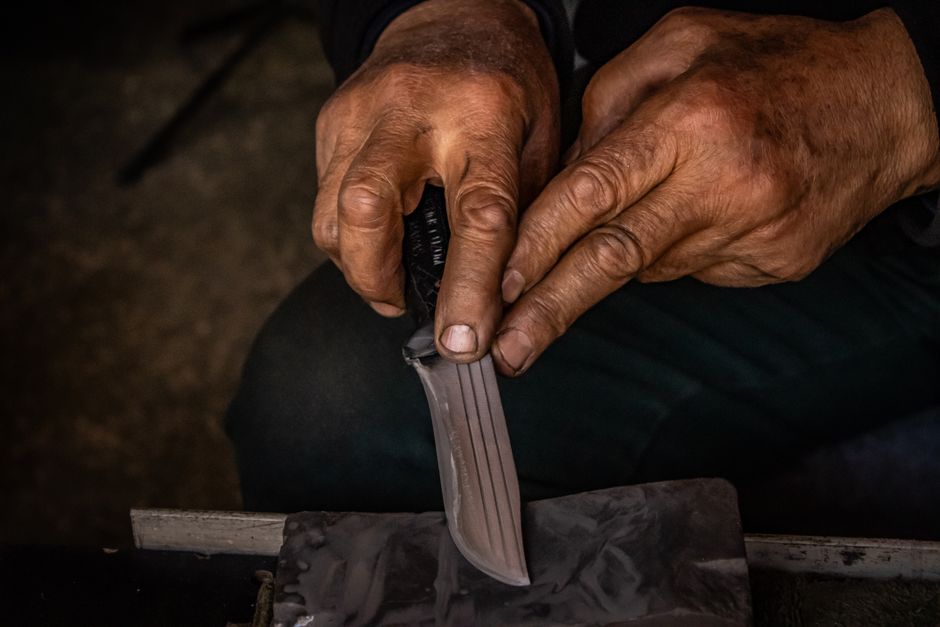
What you need to sharpen pruning shears
Not much. Here's the actual list:
- A diamond file (coarse/fine/extra-fine set, about $15 total) — or a whetstone, though files are easier
- Rubbing alcohol (70% isopropyl or higher) and a rag, for cleaning before you sharpen
- Mineral oil or WD-40, for lubricating the blade and pivot after
- Steel wool or a scouring pad, if there's surface rust
A small flathead screwdriver is worth having too. If your shears grind or feel stiff, the pivot bolt is often loose or overtightened. Adjusting it before sharpening makes the whole job faster.
You don't need a drill, a bench grinder, or anything motorized for hand pruners. The only time power tools help is on larger gear — hedge trimmers with long blades, for example. That's a different guide.
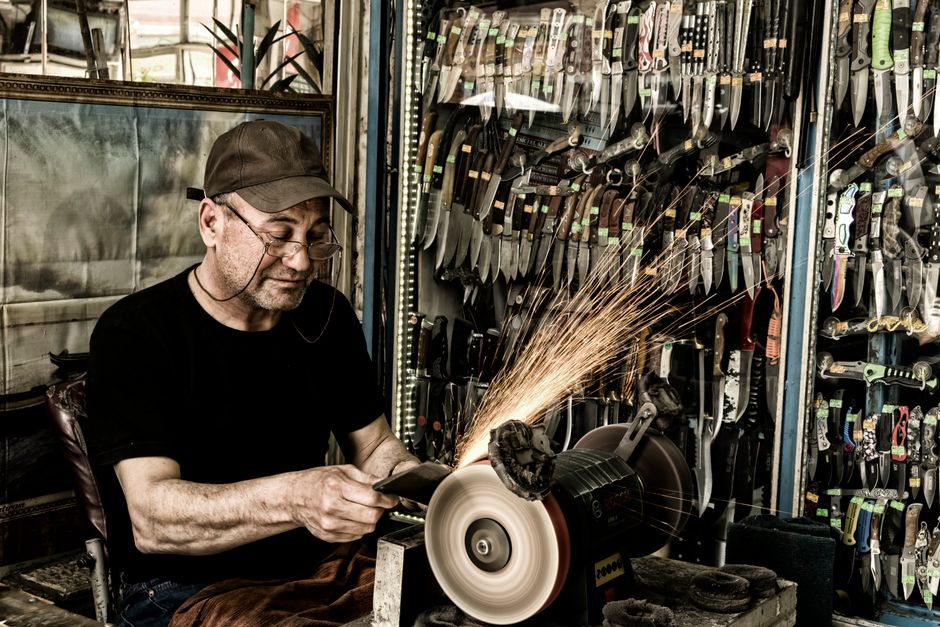
How to sharpen pruning shears: step by step
Before you start: identify whether you have bypass pruners or anvil pruners.
Bypass pruners work like scissors — two blades that cross each other. One blade has a bevel; the other is flat on the cutting side. Only the beveled blade gets sharpened. Anvil pruners have one blade that closes against a flat plate — both sides of the blade have a bevel and both sides need attention.
Most hand pruners in Canada are bypass style. If yours looks like scissors, it's bypass. If it looks like a single blade closing against a flat pad, it's anvil.
Step 1: Clean the blade.
Wipe off all the sap and debris with a rag soaked in rubbing alcohol. Sap builds up fast on anything resinous — cedar, pine, fir — and acts like a grinding compound that wears your edge unevenly. If there's rust, work it off with fine steel wool before you do anything else. A dirty blade doesn't sharpen well.
Step 2: Find the angle.
Look at the bevel on the cutting blade. You'll see a ground face at an angle — that's your guide. Don't try to change it. Hold the file against that face and you'll feel the angle. For most bypass pruners it's 20 to 25 degrees. Match it and keep it consistent throughout.
Step 3: File the beveled edge.
Hold the file at the bevel angle and push it away from you along the edge — heel to tip, one direction only. Don't saw back and forth. For a blade in regular use, four to six strokes is enough. For one that's been neglected, you might do twelve to fifteen before you see a consistent burr forming on the flat side.
That burr — a thin wire of metal that folds over to the back of the blade — is how you know you've gone far enough. If you run your thumb across the flat (non-bevel) side, you'll feel it. That's your signal to move to the next step.
Step 4: Remove the burr.
Flip the pruner over and lay your file flat against the non-beveled (back) side of the blade. One or two very light passes. Don't press hard and don't change the angle — the back face is meant to stay flat. If you over-file here, you'll round off the edge and lose the geometry you just created.
Step 5: Test on paper.
Slice through a piece of printer paper. If it drags or tears, do two more strokes on the bevel and test again. When it cuts clean with no resistance, the edge is right. This test sounds trivial — it isn't. Paper is a good proxy for green wood, and it's unambiguous.
Step 6: Oil the blade and pivot.
A drop of mineral oil or a light spray of WD-40 on the blade and the pivot bolt. Wipe off the excess with a clean rag. The oil prevents rust, keeps the pivot moving smoothly, and extends the time before the next sharpening.
How to disinfect pruning shears (and why it matters as much as sharpening)
Sharp shears are only half the equation. Dirty ones spread disease.
Nine times out of ten when a client asks me why their rose hedge has black spot or their apple tree has fire blight spreading through it, the answer involves a cutting tool that went from an infected plant to a healthy one without being cleaned. Bacterial and fungal spores move on blades. One contaminated cut is enough.
The fix is practical: keep a small spray bottle of 70% isopropyl alcohol in your garden kit. Between plants — not between every cut — give the blade a spray and wipe it dry. Ten seconds per plant transition. If you're dealing with a plant that you know is diseased, disinfect between every cut.
For a deeper clean, the ISA's plant health care guidelines recommend a 10% bleach solution — one part bleach to nine parts water. Soak the blades for thirty seconds, rinse with clean water, then dry immediately. Bleach is corrosive, so don't leave it sitting on the metal and always dry thoroughly before storage. A light oil after a bleach wash keeps the blade from corroding.
One thing that doesn't work: hand sanitizer gel. It's designed to kill bacteria on skin and it's not formulated for metal disinfection. Stick with isopropyl alcohol or the dilute bleach solution.
How often should you sharpen pruning shears
Rule of thumb: weekly use means sharpening every four to six weeks. Light weekend garden use — once at the start of spring and once mid-summer is usually enough.
More useful than a schedule is learning to notice when the edge has gone. If you're pressing harder than last week to get through the same stems, sharpen now. Don't wait until the weekend.
A few things accelerate blade wear:
- Resinous species. Cedar, pine, fir — common in Surrey and the Fraser Valley — leave sticky sap on the blade that acts as a mild abrasive. After cutting anything resinous, clean the blade before putting them away. This doesn't replace sharpening, but it extends the interval.
- Cutting above your blade's diameter range. Most bypass pruners are rated for stems up to around 2 cm (roughly three-quarters of an inch). Forcing them through thicker wood bends the blade slightly and rolls the edge. If you're routinely cutting stems that put serious strain on the tool, move up to loppers.
- Contact with soil or gravel. Even brief contact with grit takes the edge off fast. Keep the tips up when working near ground level.
I reckon most homeowners sharpen their shears about half as often as they should. It's a low-friction habit once you have a file in the right place — mine lives in the same drawer as my pruners, and I do a quick touch-up after every second use.
When sharpening isn't worth it — replace instead
Sharpening fixes a dull edge. It doesn't fix everything. Certain problems make replacement the better call:
- A chipped or notched edge where damage goes below the bevel — you'd have to remove too much metal to get back to a clean edge
- A blade that's been bent or twisted from forcing through wood that was too thick
- Pivot rivets that are worn through or a bolt that strips and won't hold tension
- Blades that no longer align properly no matter how you adjust the pivot
For shears that cost under $30, replacement usually makes more sense than time spent on repeated sharpening. For quality brands — Felco, Corona, ARS, Bahco — sharpening almost always wins. Those tools are engineered to be maintained. Felco sells replacement blades for most of their models for around $20–$30 if the damage is blade-specific.
I once had a homeowner bring in a set of Felco No. 2s that he'd been about to throw out. The blades were notched but otherwise fine. New blade, ten minutes of sharpening, a pivot adjustment — they cut better than the day he bought them. He'd had them for eleven years. That's the right way to think about a quality pruning tool.
When not to call us
We're a tree service, not a tool shop. Dull pruning shears don't require an arborist — they require a diamond file and fifteen minutes. Our guide on pruning timing covers when in the season to cut; this page covers how to make sure the tool is ready when you get there.
The time to call is when the job has gone beyond what a hand pruner can handle. If you're looking at stems thicker than your thumb, branches above your head, or anything that puts you on a ladder or a roof — that's a different conversation. Hand-pruning with sharp shears is genuinely safe DIY territory. Climbing trees or cutting limbs from heights is not, regardless of what the internet suggests.
If you have trees in Surrey or the Fraser Valley that need more than a tidy with shears — see what we actually handle. For anything involving a chainsaw or elevation, give us a call and we'll tell you honestly whether it's a DIY job or one you should hand off.