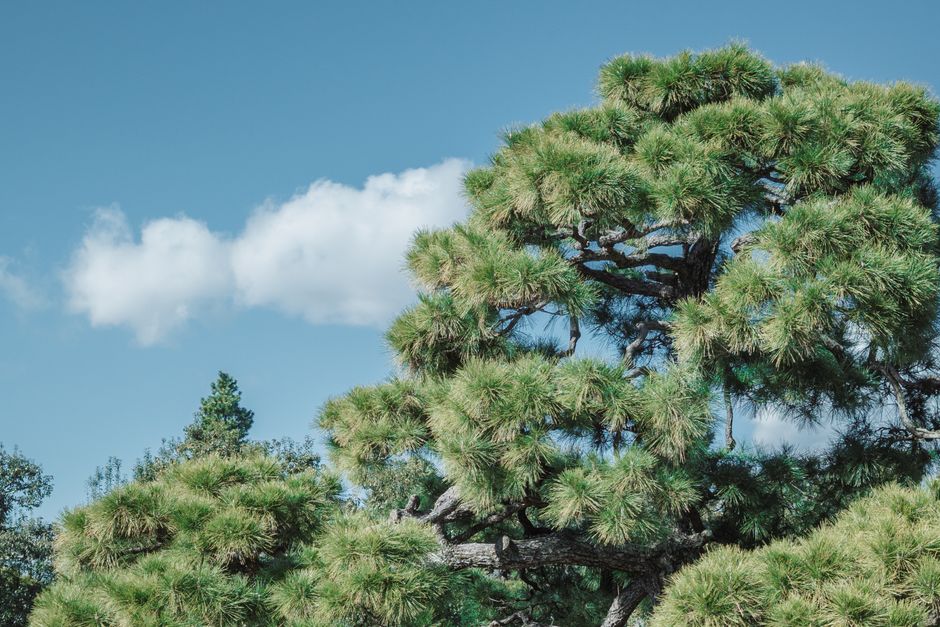
Pine trees are the most self-sufficient trees in any Surrey yard. Left alone, they grow in a natural cone, shed dead lower branches on their own, and generally want nothing from you. (Which is, honestly, the most relatable personality trait in horticulture.)
The thing is, "left alone" only works when a tree has plenty of space and nothing underneath it worth protecting. Most suburban pines have a driveway on one side, a fence on another, and someone's deck below the lowest limbs. At that point, a bit of guidance helps.
Quick answer: Trim a pine tree in late winter or early spring, while it is dormant. For shaping, pinch the new candles by half when they are soft in spring — this makes the tree denser without leaving stubs. For dead or damaged limbs, cut back to the branch collar any time of year. Avoid trimming in late summer when bark beetles are active in coastal BC.
That covers most situations. The rest of this guide explains the technique in more detail, including the one mistake that damages more pine trees than anything else.
Why trim a pine tree at all
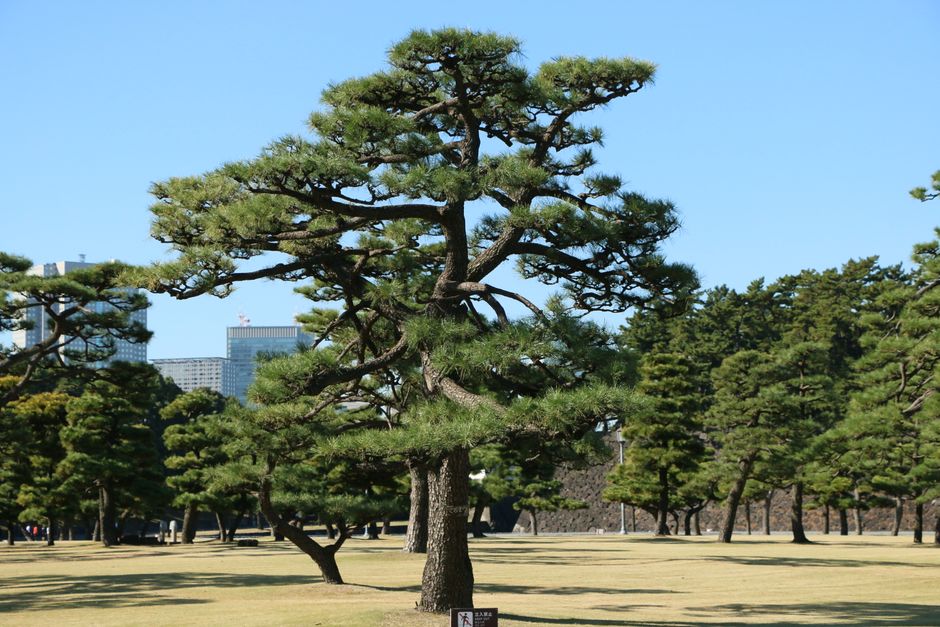
Most pine trees in a residential yard need trimming for three reasons: safety, clearance, and shape. Safety means removing dead or hanging limbs over a deck or driveway. Clearance means pulling branches away from a roof, fence, or power line. Shape means candle pruning to keep the tree dense instead of scraggly.
A healthy pine with space on all sides and nothing below it? You can leave it alone for years. I reckon a third of the pine trimming calls I get are genuinely optional — the homeowner just wants it to look tighter. That is a reasonable goal, but be honest with yourself about what you are actually fixing.
One thing pine trees genuinely never need: topping. Cutting the central leader — the main upright stem at the top — does not make a pine tree smaller in any useful way. It destroys the tree's structural form and turns a healthy specimen into a hazard. Nine times out of ten, the homeowner who topped their pine is calling me three years later wondering why it looks like a multi-headed disaster.
When to trim — and when not to
Late winter is the best window for most pine trimming work — late February or early March in the Lower Mainland, when the tree is dormant and before the new growth push begins. Wounds callus quickly once the growing season starts, so dormant-season cuts heal well.
For dead or storm-damaged limbs, timing does not matter. Cut them out any time. A dead branch is not going to heal regardless of season. The hazard is the concern, not the calendar.
The window to actively avoid is late summer through early fall — roughly August through October in coastal BC. This is bark beetle season. BC's Ministry of Forests documents several bark beetle species active during this period. Fresh pruning wounds emit compounds that attract them, and once they are in, a tree can decline faster than most homeowners expect. Rule of thumb: dormant-season cuts for shape, any-season cuts for dead wood, no cuts in August and September unless you have to.
Candle pruning: the shaping technique
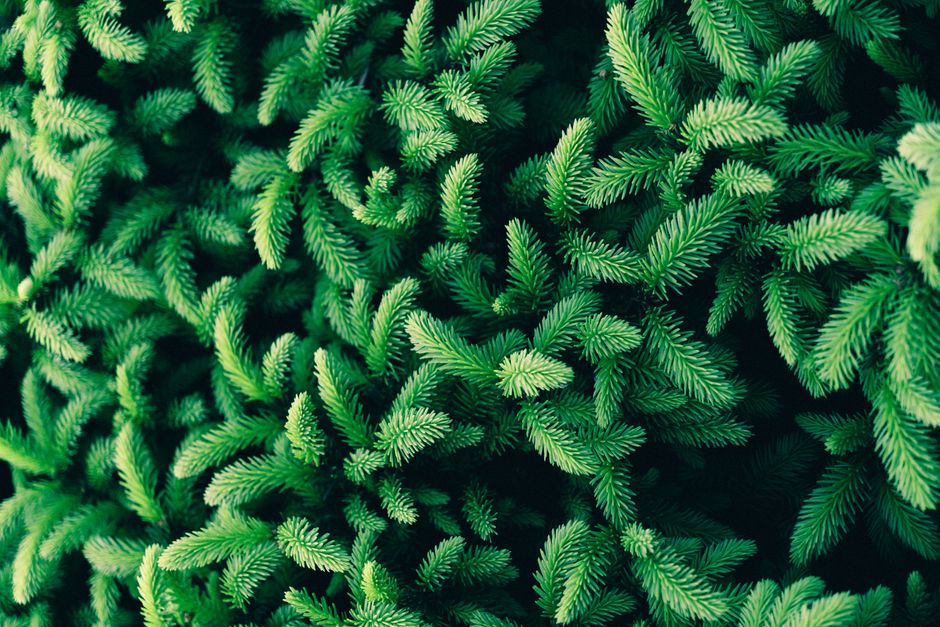
In late April through May, pine trees push out new growth at the tip of each branch. These pale green shoots are called candles. If you catch them at the right moment, you can shape the tree without ever leaving a stub or a brown cut end.
The window is narrow: candles are ready to pinch when they are about half their mature length, still soft and pale. At that stage, pinch them back by about half — fingers work fine while they are soft, or use clean bypass pruners. No blade damage, no brown stubs, no visible scars. The remaining portion hardens off and the branch fills in noticeably denser the following spring.
Miss the window — let the candles extend fully and harden off — and you are cutting into woody growth. That leaves brown stubs that die back toward the branch and never heal properly. The pine remembers.
You do not have to candle-prune every year. For most suburban pines, every two to three years is enough to keep a tidy shape. Left alone, they just get a little looser each season — not a problem unless you care about the appearance.

Corrective cuts: dead, damaged, diseased
Dead limbs are straightforward. Find the branch collar — the slight ridge of raised bark where the branch meets the trunk — and make a clean cut just outside it. Do not cut flush to the trunk; you will damage the collar and slow the tree's ability to compartmentalise the wound. Do not leave a stub; it will rot back toward the trunk.
For thick limbs over about two inches, use the three-cut method. Undercut about a third of the way through from below, 12–18 inches from the collar. Then cut through from above, a few inches further out toward the tip — this drops the limb without the weight tearing bark down the trunk. Then clean up the stub with a final cut at the collar.
One thing to skip: wound sealant. The ISA's pruning best management practices are clear that sealing cuts traps moisture and promotes decay rather than preventing it. The tree's own chemistry handles the job.
For diseased limbs — anything showing resin bleeding at multiple points, discolouration, or signs of canker or fungal infection — cut at least 12 inches back into healthy wood and disinfect your blade between cuts. Pine pitch canker and white pine blister rust are both present in the Lower Mainland. Dirty blades move disease between branches; clean ones do not.
What tools you actually need
Sharp bypass pruners for anything under three-quarters of an inch. A folding pruning saw for branches up to three inches. A pole saw for higher work without a ladder. Loppers for mid-range limbs.
That is it. No chainsaw needed unless you are removing a large limb entirely, and at that point you are likely working at height, which changes the conversation.
Clean your tools before and after — a 10% bleach solution or rubbing alcohol wipe. Dull or contaminated blades spread fungal and bacterial disease between cuts. (The arborist equivalent of washing your hands before surgery, which I take more seriously than the analogy suggests.)
When you should not DIY — and when you do not need us
If the work is under 15 feet, the tree is not near a structure or power line, and you are removing lower branches or doing candle pruning — you do not need to hire anyone. Do it yourself. A certified arborist is worth paying for when the situation actually calls for it — not for every maintenance cut on a small tree.
Where I would tell you to put the pruners down:
- Height. The moment you are more than a few rungs up a ladder with a saw in your hand, the risk climbs fast. Falls from 10 feet cause more serious injuries than most people expect. The height matters less than the instability.
- Power lines. Any branch within 10 feet of a live line is utility work. Call BC Hydro first; that is not a DIY job for anyone.
- Structural limbs. A limb over four inches across hanging over a structure needs a controlled drop, not a backyard cut. Get it wrong and you are calling a roofer next.
- Storm damage on a large pine. The remaining structure may be compromised in ways that are not obvious until the next windstorm. Have a professional assessment before touching it.
For the smaller stuff — ground-level lower branches, routine candle pruning on young trees — you genuinely do not need to pay someone. I would rather you call when you actually need the help.