
Plant a new apple tree and do nothing for three years. Congratulations — you've got a very enthusiastic bush. Prune it right from the start and you might actually see fruit by year four. (That's not a metaphor. It's just how apple trees work.)
Pruning a new apple tree is less about cutting and more about choosing. You're building a frame. Get the frame right in the first five years and the tree mostly looks after itself. Ignore it and you're paying someone like me to sort out a structural mess in year seven.
Quick answer: Start pruning on planting day. Cut a bare whip back to 30–36 inches from the ground. In year two, select 3–4 lateral scaffold branches with wide outward angles and remove the rest. Each dormant season after that, lightly thin for light and air. Most of this is manageable as a DIY project for the first few years — provided the tree stays small and the cuts stay clean.
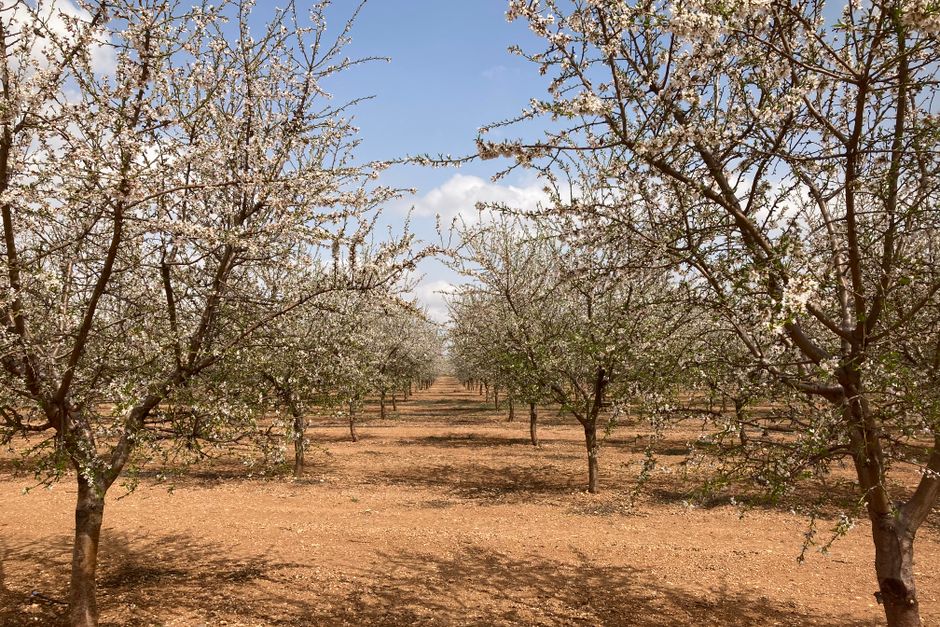
Why the first five years are everything
A well-trained apple tree produces fruit for 30–50 years. An untrained one spends that same time fighting itself — competing leaders blocking light, weak crotch angles waiting to split under a fruit load, crossing wood that rubs bark and dies.
The first five years are your one chance to build the scaffold. After that, you're managing what's already there, not shaping it.
I had a client in Surrey bring me in to look at his backyard apple tree. He'd planted it four years earlier and figured trees sort themselves out. The tree had three competing leaders, a cluster of crossing branches on the south side, and bark starting to rub on the fence. The fix was possible — reduce two of the leaders, open the canopy — but it took two visits and ran him $750. If he'd called me in year one, the same structural guidance would have taken 20 minutes and a pair of secateurs.
“I thought trees just needed water,” he said.
Fair enough. Most trees do. Apple trees need a bit more direction.
The objective in training a young tree is to develop a structure that will support fruit production without becoming a hazard. The top of the tree should be smaller and narrower than the bottom — this prevents the upper canopy from shading out the lower branches, which is where your reliable cropping happens. The RHS guidance on new apple tree pruning is worth reading before you pick up the secateurs.

The first cut: what to do at planting
Most new apple trees arrive as whips — a single stem with no branches — or as feathered maidens, which already have some lateral growth attached.
Rule of thumb for a bare whip: cut it back to 30–36 inches from the ground. This forces the tree to produce new lateral shoots from the upper 8–10 inches of the remaining stem, which is exactly where you want your scaffold to develop. Sounds brutal. It isn't — the tree bounces back fast and what comes up is better than what was there.
If you have a feathered maiden with laterals already attached, the job is more selective. Keep the central leader. Identify the strongest 3–4 lateral branches with wide, outward-pointing angles — anything over 45 degrees from the trunk. These become your scaffold candidates. Remove everything else at the collar. Don't leave stubs.
What not to do: remove more than one-third at once, leave ragged cuts, or use climbing spikes anywhere near the trunk. And don't apply wound sealant — research on this is consistent. It traps moisture and does nothing useful. Let the tree callus over on its own.
Mark the planting date on your calendar. You'll be back next spring.
Year two: selecting your scaffold branches
By spring of year two, you should have a central leader and several new shoots competing for space. Your job is to pick the winners and remove the rest.
Select 3–4 lateral branches that meet these criteria:
Wide crotch angle— narrower than 45 degrees is a branch waiting to split. Look for wide, outward-pointing angles. You can tie or weight narrow-angled branches to pull them wider if they're structurally sound otherwise.
Evenly distributed around the trunk — not all pointing the same direction, not all at the same height. Stagger them both around the compass and up the stem.
Good spacing — aim for 6–12 inches of vertical separation between scaffold attachment points.
Once you've picked your scaffolds, cut them back by about one-quarter. Cut the central leader by up to one-half — this encourages the tree to build outward rather than just skyward. Everything else comes off.
I reckon most homeowners get this right once they understand the logic. The scaffold is the frame. The fruit hangs off the frame. Build the frame with good angles and decent spacing. The rest is just management.
For a more detailed look at the structural choices involved, the Clemson Cooperative Extension guide on apple tree training is solid, and the principles apply equally well to BC conditions.

Year three and beyond: keeping things honest
By year three, the tree is finding its rhythm. Your pruning shifts from building to maintaining.
Each dormant season — late February through mid-March in Surrey, before the buds break — walk the tree with secateurs in hand and remove:
Crossing or rubbing branches. Two branches touching bark is two branches generating wounds. One of them needs to go. Pick the one with the better angle.
Downward-pointing wood. It collects water, produces little fruit, and crowds the lower canopy.
Water sprouts. The long vertical shoots that shoot straight up from major scaffold branches. They look vigorous because they are — all vegetative energy, no fruit. Take them off at the collar.
Anything blocking light to the centre. Open canopy = even fruit ripening. Dense centre = soft spots, disease, and spotty production.
Keep total removal to 20–25% of the canopy volume per year. Removing more stresses the tree and usually triggers a flush of new water sprouts — which is the tree's way of telling you that you went too hard.
From year three onwards, the renovation pruning approach for older apple trees starts to become relevant if you've inherited a backyard tree that's been neglected. The principles are the same — it's just a question of degree.
Summer pruning: the lesser-known tool
Winter pruning builds the tree. Summer pruning slows it down.
If your young apple tree is putting on too much vigorous growth — long whippy shoots, a canopy that's getting crowded between July visits — a light summer prune (late July through August) redirects energy toward fruit bud development rather than more wood.
It works because summer pruning reduces the leaf area available for photosynthesis, which signals the tree to consolidate rather than expand. Rule of thumb: don't take more than 10–15% of the canopy in a single summer session.
Nine out of ten people prune their apple trees in winter and never touch them again until the following February. Summer pruning is the edge — it's not complicated, it doesn't require different tools, and most homeowners skip it simply because no one told them it was an option.
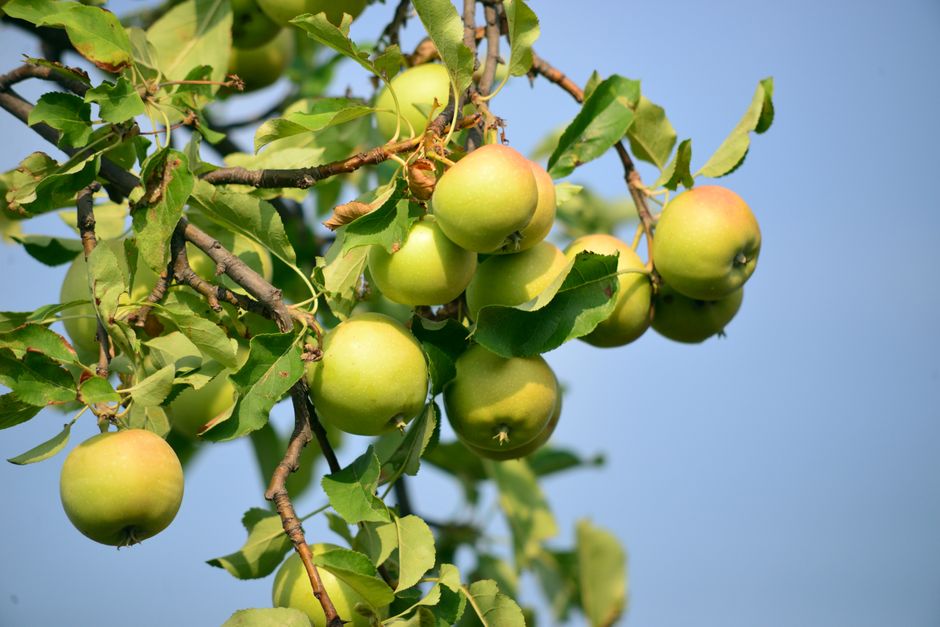
The tools you actually need
For a tree in its first five years, you don't need much:
Sharp bypass secateurs for cuts up to half an inch in diameter. Bypass blades make clean cuts. Anvil-style secateurs crush stems — fine for dead wood, bad for live growth. If the blades are dull, sharpen them before you start. A bad cut on a young tree is worse than no cut at all.
A folding pruning sawfor anything larger than your secateurs can handle cleanly. You don't need a chainsaw. You'll rarely need the saw at all in the first three years.
Rubbing alcohol or methylated spiritsto wipe blades between cuts. This matters particularly if you're cutting into wood that shows any discolouration or dieback — you don't want to carry disease from one cut to the next.
That's it. No sealant. No wound paste. No specialist equipment. The whole kit costs under $60 and you'll use it every year.
When not to do this yourself
Most of the work above — a new tree under 8 feet in an open backyard — is manageable for a careful homeowner with clean, sharp tools. I'd rather you do it right than wait for me.
That changes when:
The tree is over 15 feetand you're reaching for a ladder. Working above your head with cutting tools on a ladder is where apple tree pruning becomes a medical event. The fruit isn't worth it.
The tree is near the house, power lines, or a fence. A dropped branch in the wrong direction from that height causes real damage. This is the single most common situation where I get called in after a homeowner has already started.
You're not sure what you're cutting.If you're looking at the tree and can't identify the scaffold, the competing leaders, or what the wood is doing — stop. A wrong cut on a young apple tree can set the structure back by years. Getting a professional assessment at year two or three is a lot cheaper than fixing it at year six.
The wood shows signs of canker, dieback, or disease. This changes what comes off and in what order. See our tree care services page for assessment options.
Honestly — most backyard apple trees in Surrey and the Fraser Valley don't need professional help in the first three years. What they need is a homeowner who shows up in late February with clean secateurs and a plan.
What we charge (honestly)
If you want professional guidance on a young apple tree:
Consultation / assessment: $150, credited toward any work we do. We walk the tree with you, identify the scaffold, show you the cuts, and explain why. Most homeowners who get this once in year one or two are set for the next five years. The advice is the expensive part — once you know what you're doing, the annual maintenance pruning is straightforward.
Annual maintenance pruning for a small backyard apple tree: $300–$450, depending on size and access. This covers the dormant-season structural work. Add summer pruning and it's typically another $150–$200.
Renovation of a badly structured tree: starts at $500, more if the competing leaders are large or the canopy is significantly crowded. This is the kind of work you avoid by starting right.