Cherry pits are easy to grow cherry trees from — as long as you're not in a hurry. Seven to ten years is a realistic timeline to first fruit. (I've had clients look at me like I'd personally wronged them when I said that.) Still interested? Good. Here's the whole process, including the parts most guides skip over.
The short answer is yes, it works. The pit is the seed. If you treat it right, it will germinate. What you grow, and when you get cherries, is a different conversation.
Can you actually grow a cherry tree from a pit?
Yes. Unambiguously yes.
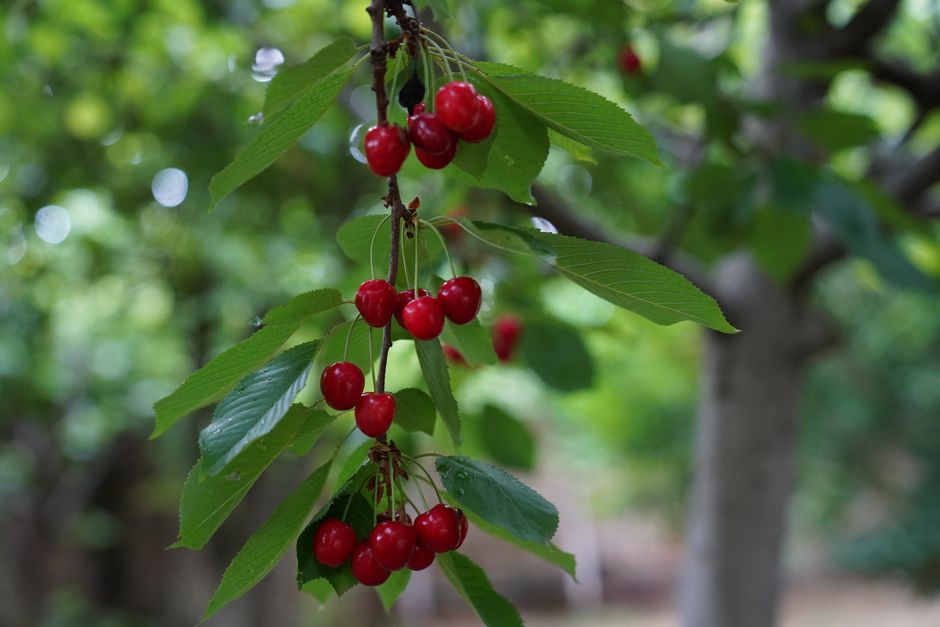
A cherry pit contains a seed. That seed, under the right conditions, will sprout into a tree. The tree will flower, and eventually, it will produce cherries. This is not complicated in principle.
In practice, two things trip people up.
First: genetic variability. A seed-grown cherry tree is a cross between two parent trees. It is not a clone of the cherry you ate. The fruit might be similar. It might be smaller, sweeter, sourer, or a different colour entirely. You won't know until it fruits — which brings us to the second issue.
Second: time. Grafted nursery trees produce fruit in 3–5 years. Seed-grown trees take 7–10 years. That is not a typo. If you want Bing cherries by 2028, buy a grafted tree from a nursery. If you want the experience of growing a tree from the fruit in your hand, read on.
Neither of these is a reason not to do it. They're just things worth knowing before you start.
What you need to know before you start
A few things that don't appear in most cherry-pit guides:
Grocery store cherries are unreliable.Most supermarket cherries arrive from California or Washington after weeks in cold storage. That extended refrigeration disrupts the pit's dormancy cycle. Germination rates drop significantly. Buy fresh cherries from a BC farmers market instead — Langley, Abbotsford, and Fraser Valley markets run through July and August. Just-ripe, locally grown cherries give you the best shot.
Most sweet cherry varieties need a second tree for pollination.If you want fruit, plant two. Bing, the most popular variety, is not self-fertile — it needs a different variety flowering at the same time. Self-fertile BC varieties (Lapins, Sweetheart, Stella) are the exception. I'll cover these below.
Seed-grown trees are standard-sized. Grafted nursery trees are often sold on dwarfing rootstock — smaller trees that are easier to manage and net. A seed-grown cherry tree will reach full height: 4.5–8 metres (15–25 feet), sometimes more. Plan your space accordingly.
Chilling hours matter.Cherry trees need cold winter temperatures to break dormancy properly and set fruit the following season. Surrey gets roughly 800–1,200 chilling hours per year (hours below 7°C). That's excellent for cherries — more than enough to satisfy even demanding varieties.
Best cherry varieties for Surrey and the Lower Mainland
This is where the guides from the United States fall short. BC has its own cherry breeding history, and the best varieties for our climate aren't the ones you'll read about in a California gardening blog.
The Summerland Research and Development Centre in the BC Okanagan developed Lapins, Sweetheart, and Cristalina specifically for Canadian conditions. These are self-fertile (you only need one tree), disease-resistant, and proven performers across BC. I reckon these are the right choice for most Surrey homeowners.
For sweet cherries:
- Lapins — self-fertile, large dark-red fruit, ripens late season. Bred in BC. Strong performer in the Lower Mainland.
- Sweetheart — self-fertile, very late ripening (August in Surrey), firm fruit. Good disease resistance.
- Stella — self-fertile, mid-season, classic dark-red cherry. The most widely planted self-fertile sweet cherry in BC.
- Bing — not self-fertile, needs a pollinator variety nearby. The most recognisable cherry, but not ideal as a solo planting.
For sour cherries:
- Montmorency — self-fertile, very disease-resistant, excellent for pies and preserves. A better choice than most sweet cherries if you want low-maintenance.
One important note on seed-growing: if you start with a Lapins pit, the resulting tree is not Lapins. It's a Lapins hybrid — likely still a decent cherry, but different. There's no guarantee. If variety matters to you, buy a grafted tree.
Step-by-step: how to grow a cherry tree from a pit
Here is the full process. Each step matters. Don't skip the cold stratification — that's the one that kills most attempts.
Step 1: Choose the right cherries
Buy ripe cherries from a local BC source. Langley and Abbotsford farmers markets in July and August are ideal. You're looking for fully ripe, locally grown fruit — not something that spent three weeks in a refrigerated truck.
Collect 6–10 pits. Some won't germinate. Starting with more gives you options.
Step 2: Clean and dry the pit
Eat the cherry. (This step is non-negotiable and usually the most enjoyable part.) Rinse the pit thoroughly to remove all fruit pulp. Leave it in a bowl of warm water for 10 minutes, then scrub with your fingers.
Let the pit air-dry at room temperature for 3–5 days. You want the surface moisture gone, but not the pit dried out completely. A slightly matte appearance is right.
Step 3: Cold stratification (don't skip this)
Cherry pits go dormant after ripening. They need a sustained cold, moist period to break that dormancy — mimicking winter before spring. This is called cold stratification.
Place each pit in a small container (an old takeaway container works fine) with slightly moist peat moss, vermiculite, or a damp paper towel. The medium should be moist — not soaking. Seal it and put it in the back of your refrigerator.
Leave it for 10–12 weeks. Check monthly. You're looking for a small white root emerging from the pit. That's your signal to plant.
In Surrey, good timing is to start cold stratification in late August or early September, so you're ready to plant indoors by November or December.
Step 4: Plant the pit indoors
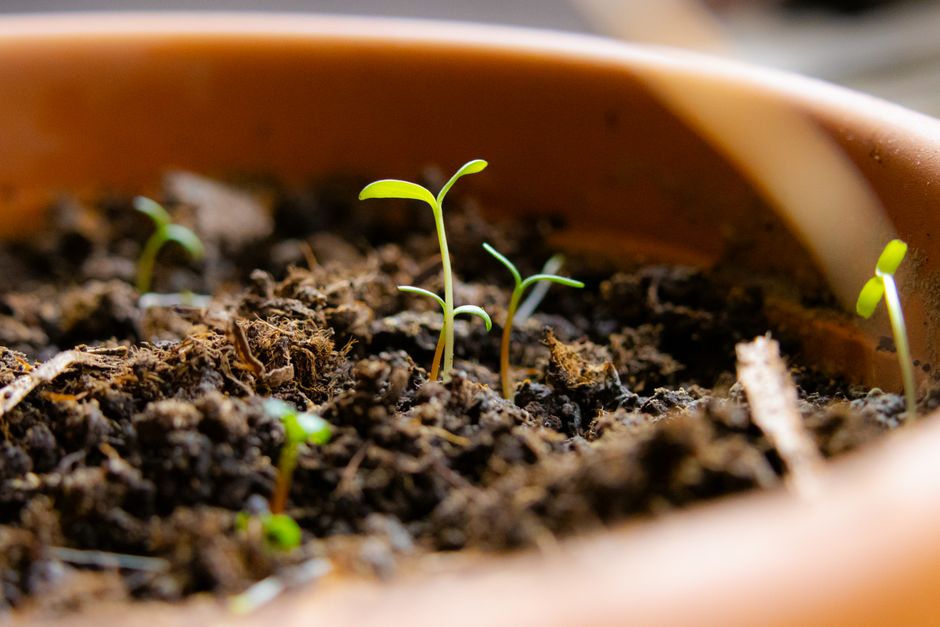
Once a white root is visible, plant the pit 2.5 cm (1 inch) deep in a 10 cm (4-inch) pot. Use well-draining potting mix — cherry roots dislike standing water. A mix of potting soil and perlite works well.
Keep it on a sunny windowsill, south-facing if possible. Water when the top inch of soil dries out. Expect a seedling to emerge in 2–4 weeks.
Resist the urge to fertilise at this stage. The seedling has everything it needs to get started on its own.
Step 5: Transplant outdoors
Wait until the seedling is 15–20 cm tall with several sets of true leaves. In Surrey, transplant after the last frost date — typically late March to early April.
Choose a spot with a minimum of 6 hours of direct sun. This is the most important factor. A cherry tree planted in partial shade will grow slowly and fruit poorly.
Soil drainage is the second most important factor. The Lower Mainland's clay-heavy soils are problematic for cherry trees — roots sitting in waterlogged ground through our wet winters will rot. Amend the planting hole generously with compost and sharp sand. If your garden drains poorly, consider a raised bed or a mounded planting.
Plant at the same depth as in the pot. Mulch with a 10 cm (4-inch) ring of woodchip or bark, keeping mulch clear of the trunk itself. Water deeply after planting.
Caring for your young cherry tree
The first two years are the most critical. The tree is establishing its root system, and your job is to support that without overdoing it.
Watering:For the first two summers, water deeply once a week during dry periods. "Deeply" means water until the ground is moist 30 cm down — not a brief surface spray. After establishment, cherry trees are reasonably drought-tolerant in Surrey's climate, but benefit from a thorough water every two to three weeks through our dry summers.
Fertilising: In year one, hold off on fertiliser unless the soil is obviously poor. In years two and three, a balanced fertiliser in early spring (before bud break) is enough. Over-fertilising pushes leaf growth at the expense of root development.
Wildlife: Birds are enthusiastic about cherries. Netting is the only reliable solution once the tree starts fruiting. Plan for this early — retrofitting netting onto a mature, unmanaged tree is an exercise in frustration.
The first winter: Young cherry trees are hardy, but the first winter in the ground is worth a little extra care. A light layer of mulch over the root zone helps insulate against hard freezes. Surrey rarely sees temperatures that damage established cherry trees, but a seedling in its first winter is more vulnerable.
Formative pruning: the arborist's job in years 2–5
Here is the section that every gardening guide skips, and the one that makes the biggest long-term difference.
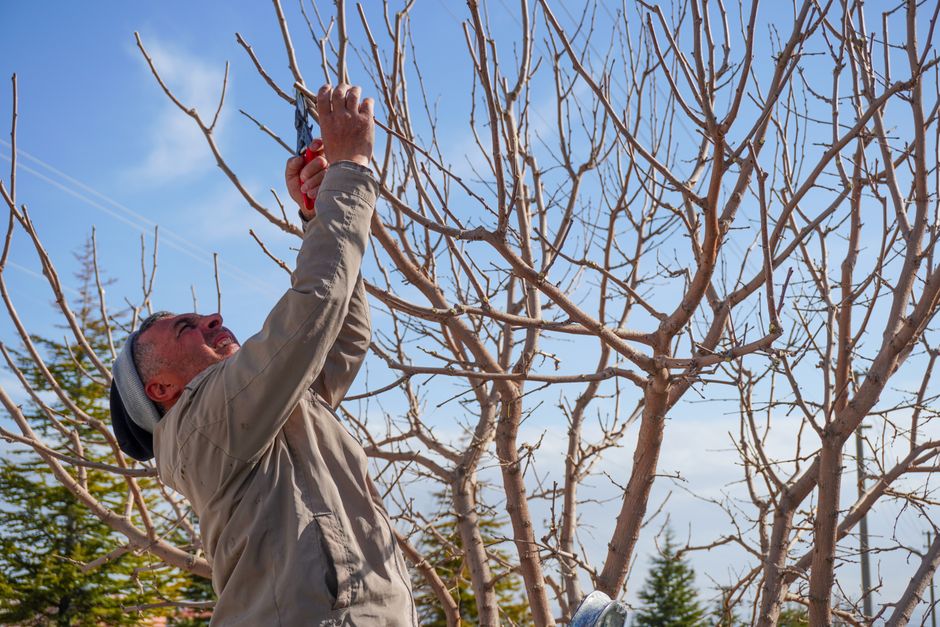
Cherry trees need structural training in their first few years. Without it, you get competing leaders, weak branch unions, and a tree that will need expensive corrective work — or pose a risk — within a decade.
What we look for in a formative assessment:
- Co-dominant leaders — two stems of roughly equal size competing for the same growing tip. These create a structural weakness at the union point. The earlier you address it, the cheaper: a cut on a 5 cm branch vs. a removal question on a 30 cm one.
- Bark inclusions — where branches attach to the trunk at very narrow angles, bark gets compressed between the two. The connection looks fine, but it's weaker than a proper union. These are future failure points.
- Crossing branches — branches that rub against each other damage the bark. The wound is an entry point for disease.
The goal of formative pruning is an open, balanced canopy with one clear leader (or a well-spaced open-centre structure for cherries) and branch angles that will support decades of growth.
We do this work on young trees across Surrey and Langley regularly. A formative prune at year three costs considerably less than the corrective work five years later. I've seen trees that were left alone through their youth need $800 in work to fix problems that would have been a $200 formative cut.
The ISA's fruit tree pruning guidance is worth reading if you want the technical background on open-centre vs. central-leader training systems.
When to call us — and when not to
I'll be straight with you about this.
You don't need an arborist for the first two years. Water it, mulch it, and leave it alone. A certified arborist has no value to add while the tree is a seedling in a pot.
Years 3–4 is when a consultation is worth it.Our standard assessment is $150, credited toward any work we do. At this stage, we're looking at the structure and making minor adjustments before they become expensive problems.
Call sooner if:
- You see two stems of equal size competing at the top of the tree
- Branches are attaching to the trunk at very tight angles (under 30 degrees)
- The tree is showing die-back — sections that aren't leafing out when others are
- You notice unusual swelling, oozing, or bark damage at branch unions
Don't call us for: basic watering questions, leaf colour queries, whether the soil looks right. Send a photo to jake.nylund@gmail.com and I'll give you an honest read. That costs nothing.
Also: if you've grown a cherry tree from a pit but it's not the variety you want, don't remove it until you've had a conversation about alternatives. Topworking (grafting a preferred variety onto an established root system) is sometimes a better option than starting from scratch. It's not always practical, but it's worth asking about before anyone picks up a saw.